Kivy on VirtualBox
Time 🕐
Estimated time of completion: 30min to 1h
This tutorial will explain how to run and package (with PyInstaller) a full Kivy app on VirtualBox with a Windows 10 guest.
Step 1: Make a Windows 10 ISO
Step 1: Make a Windows 10 ISO
- Making a Windows 10 ISO will take a while which is why it's step #1. You can move on to Step #2 while your machine is creating the Windows ISO.
-
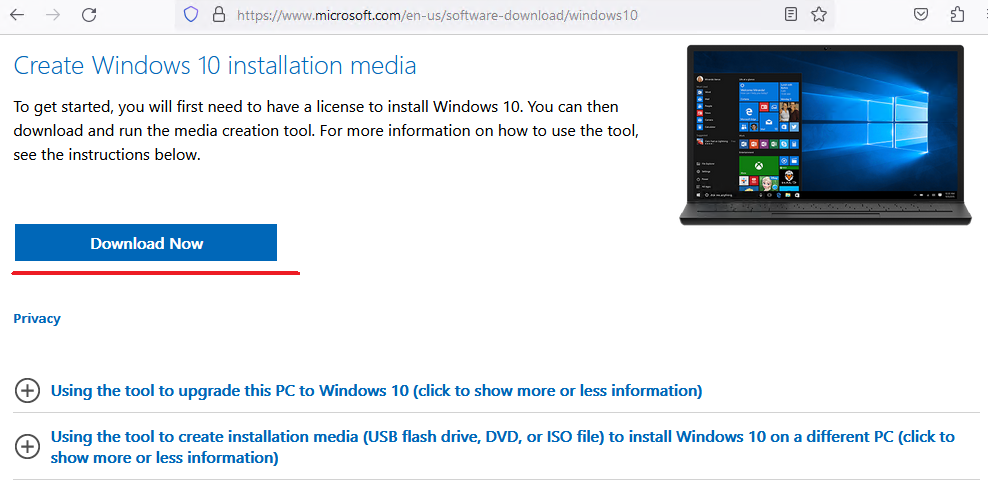
Go to the Microsoft page for Windows 10 or Windows 11 or search "Create Windows 10 installation media" and select the windows version you want. This tutorial will be for Windows 10, but steps for Windows 11 will be similar.
-
Download "Create Windows 10 installation media"
-
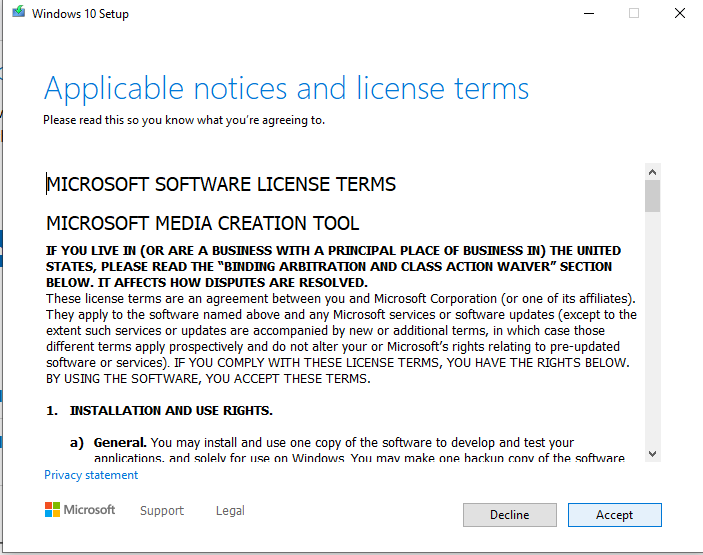
Accept terms
-
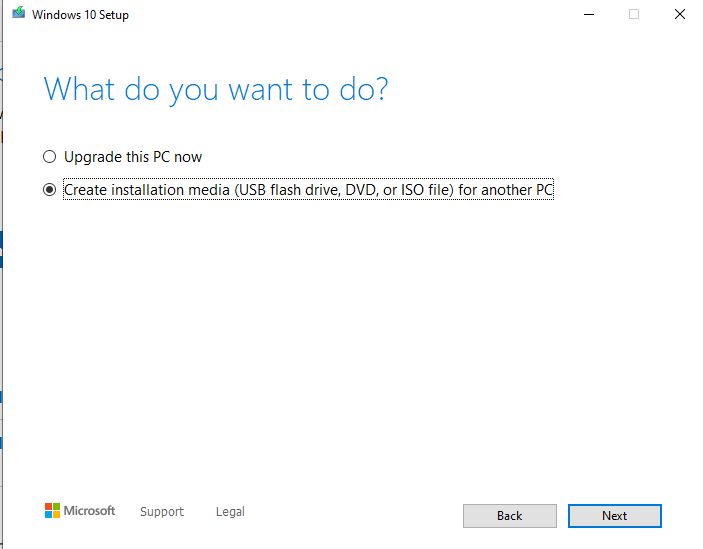
Choose "Create installation media"
-
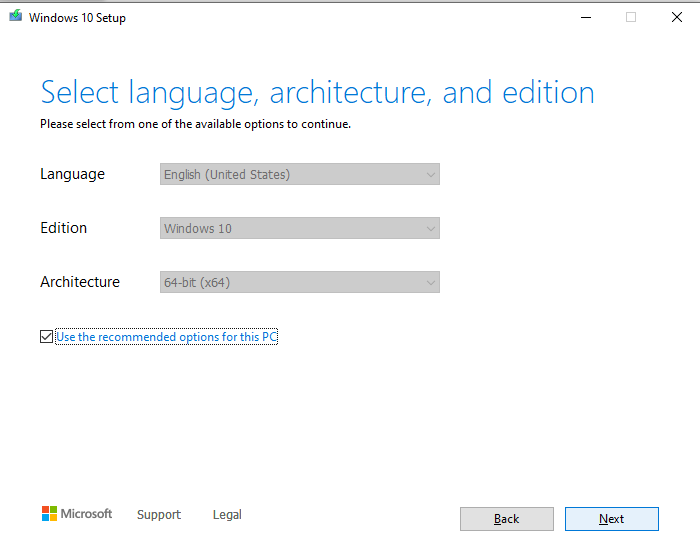
Choose next (usually these settings are correct)
-
Choose ISO file, and save to a folder of your choice

-
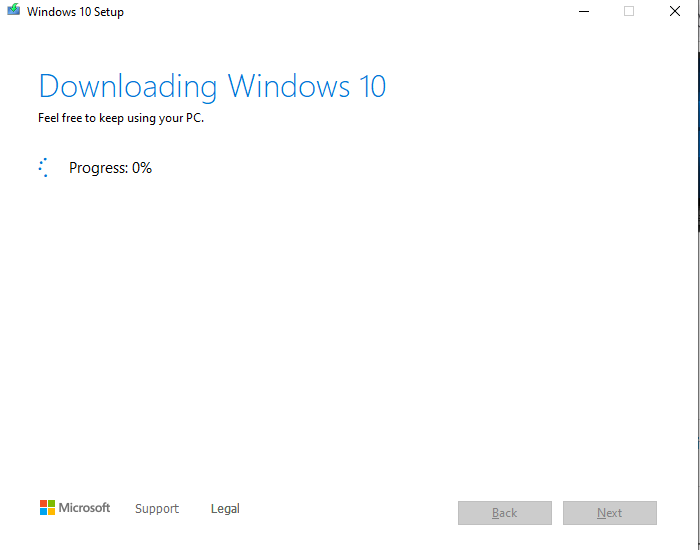
Now you will wait until the ISO is made, or proceed to the next step while waiting for the ISO creation.
-
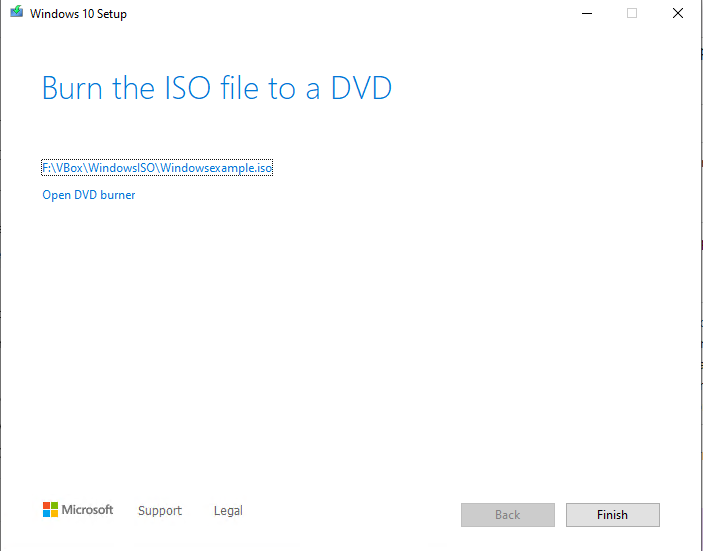
After you see this screen, your Windows ISO should be where you saved it in the install wizard.
Step 2: Install VirtualBox
Step 2: Install VirtualBox
- Install VirtualBox, and choose for the appropriate host machine. The example will use a Windows 10 host. Download Link: virtualbox downloads
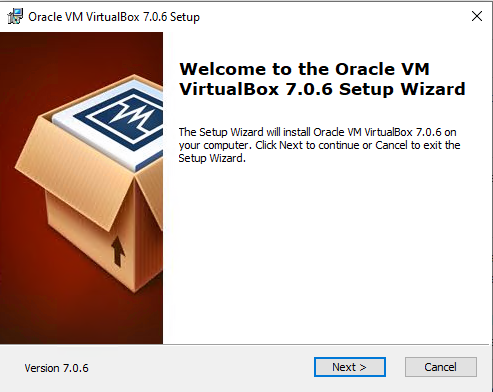
- Run the downloaded executable:
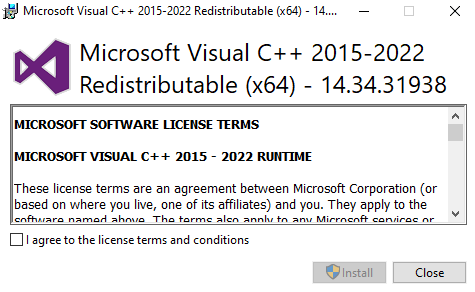
Oracle VM VirtualBox needs 2019 redistributables
- In this case, go to this link: "Microsoft Visual C++ Redistributable latest supported downloads" and select the right version for your machine.
- Re-run the VirtualBox installer
-
Click "Next"
-
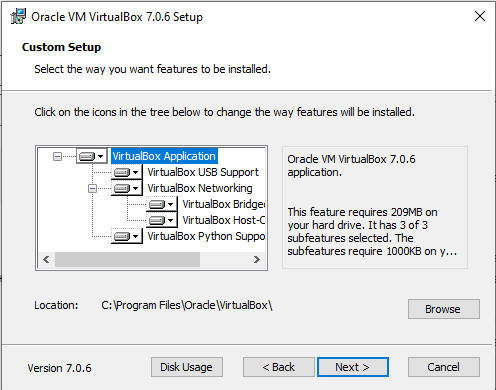
The defaults should be fine, click "Next"
-
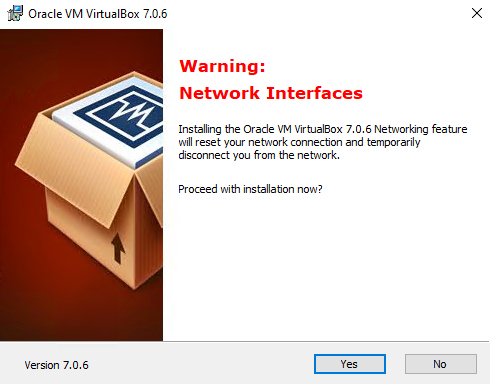
This warning just means you'll lose internet connection for a while until VirtualBox is done installing. Click "Yes"
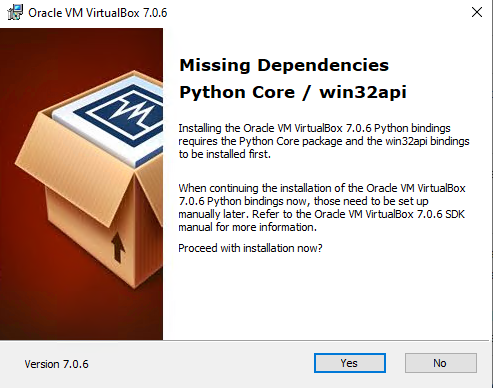
Missing Dependencies, Python Core
-
If VirtualBox is asking to install Python dependencies, accept with "Yes"
-
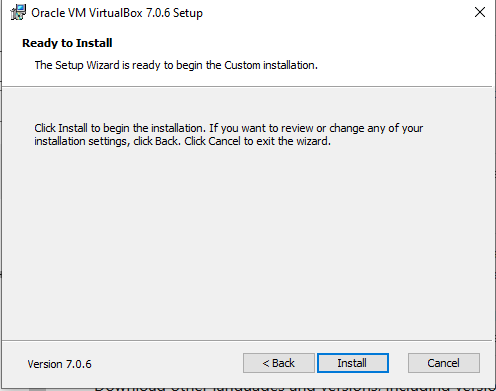
Click "Install"
-
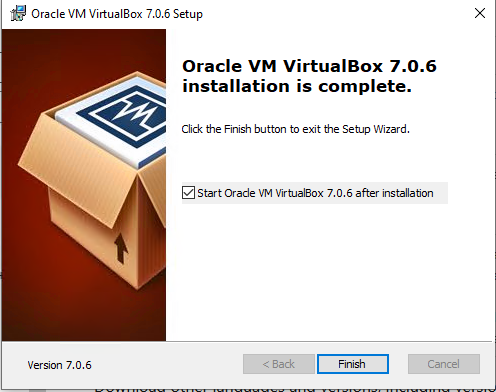
Proceed to the next step where you will install your Windows 10 Guest
Step 3: Unattended Install of Windows 10 in VirtualBox
Step 3: Unattended Install of Windows 10 in VirtualBox
-
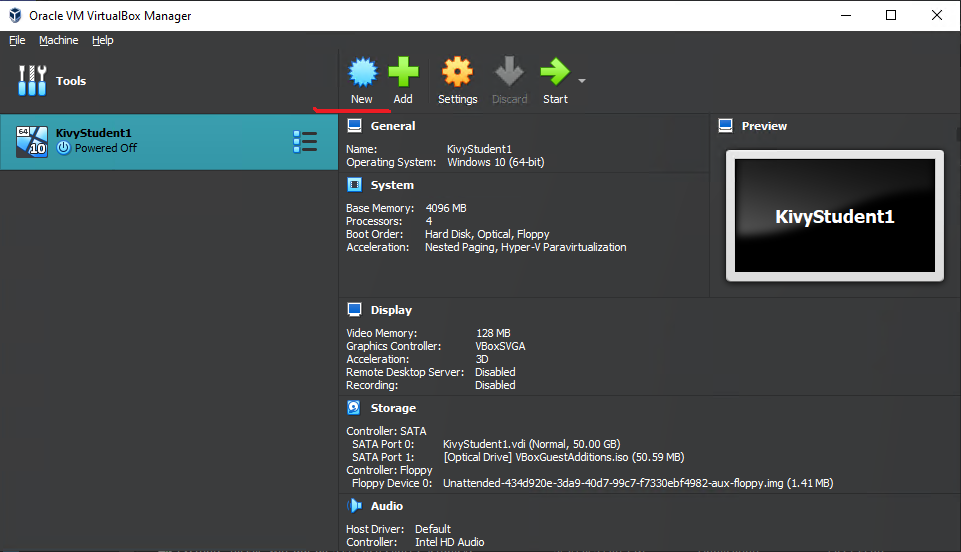
In VirtualBox, choose "New"
-
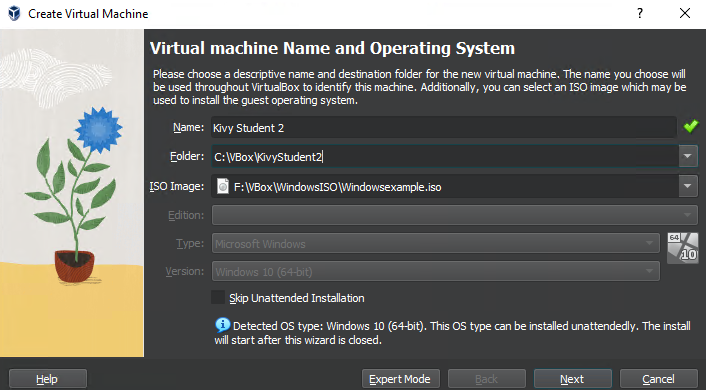
In this screen, you choose the name of your VM, folder it is saved to, the ISO image (which should be the one you created in Step 1). If there are other prompts, read and follow. VirtualBox should install fine.
-
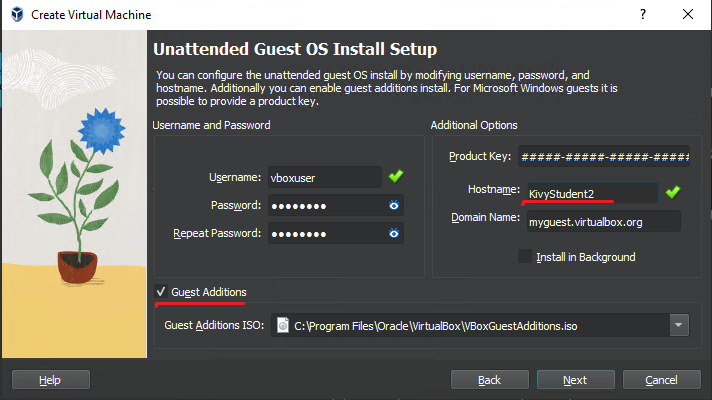
This is the Unattended Guest Setup by VirtualBox. For convenience, check "Guest Additions". If you do not install Guest Additions here, you will have to manually install Guest Additions after your VM installs the Guest OS. Guest Additions includes helpful features like bidirectional keyboard and screen resizing.
-
Also note that the Hostname doesn't like spaces, in case you are stuck wondering why you can't click "Next".
What happens if unattended setup is skipped?
- You will then proceed with installing your guest OS (in this tutorial it is Windows 10) on your VM. Everything will be the same except you will be prompted to manually log in every time you turn on your VM.
-
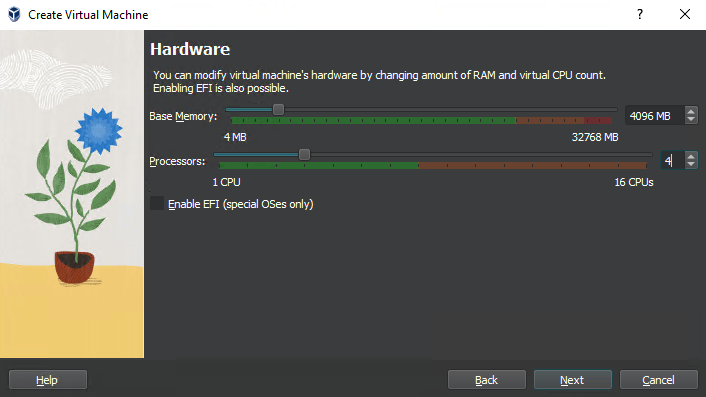
From experience installing Windows 10, choose 4096 Memory and 4 Processors. With the basic allocations, I was stuck on a Windows install loop (turn on VM> install Windows> restart VM> install Windows) until these settings were increased.
-
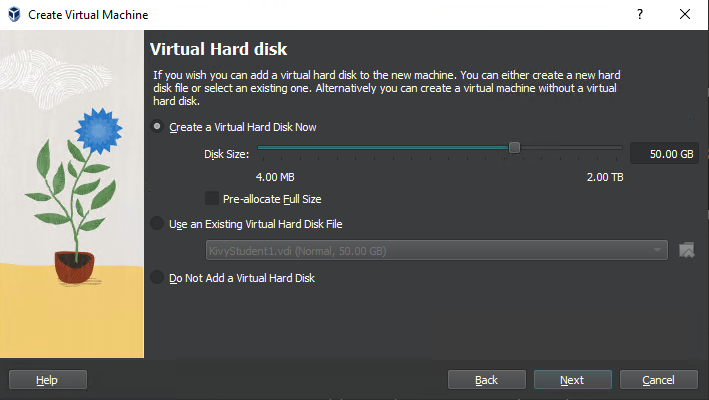
Defaults are fine, click "Next"
-
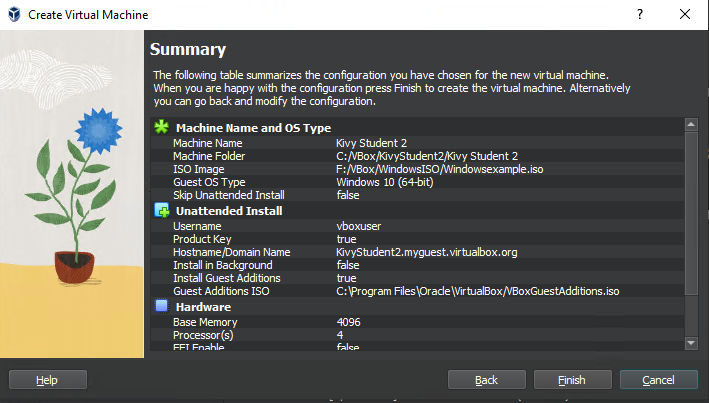
Click "Finish" and boot the new VM.
-
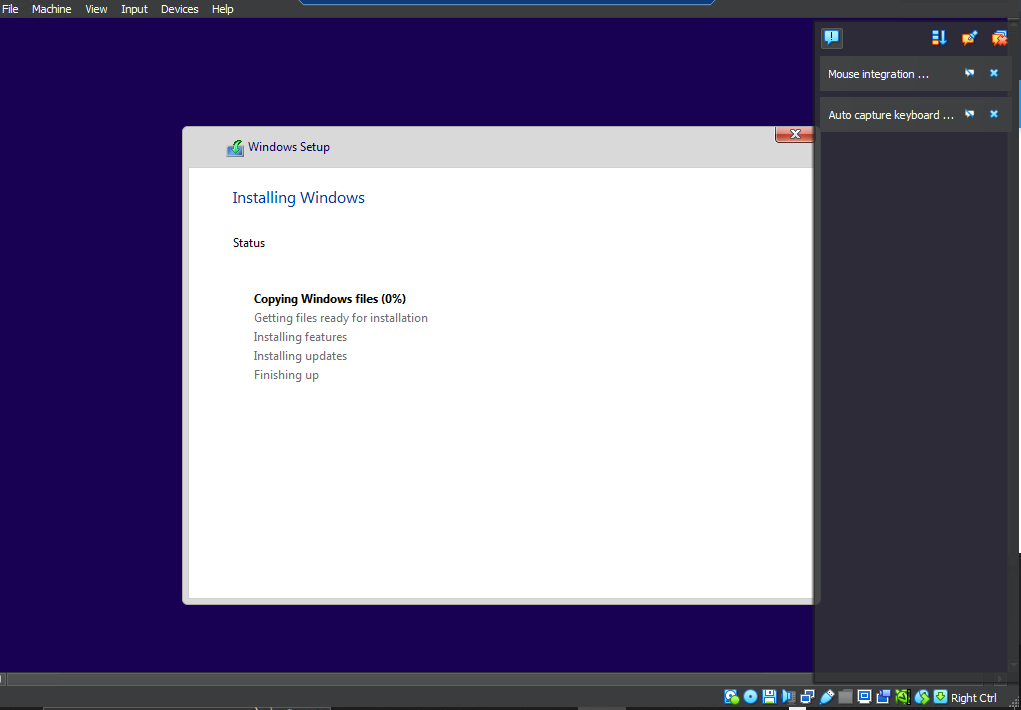
Here the VM is installing Windows:
Step 4: Manual Install of Guest Additions
Manual Install of Guest Additions
If you have not checked the box in the beginning of the wizard, you will need to install Guest Additions for more features like bidirectional clipboard and resizing the VM window.
-
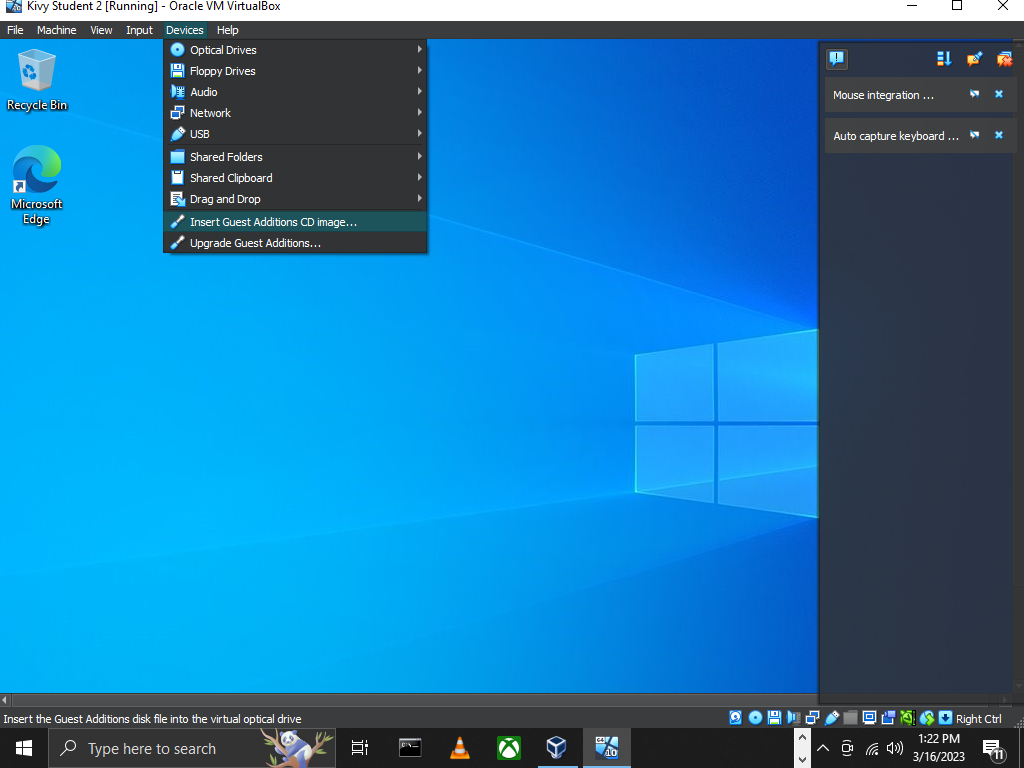
In the VirtualBox window, click "Devices" Then "Insert Guest Additions CD image"
-
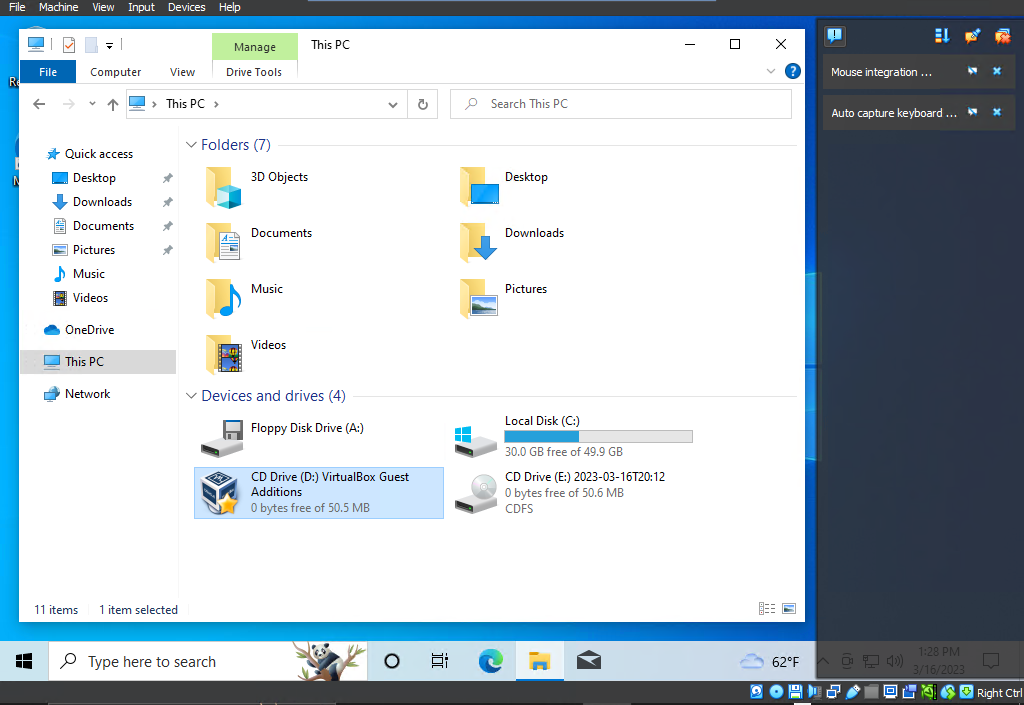
Guest Additions should show up as a CD Drive.
-
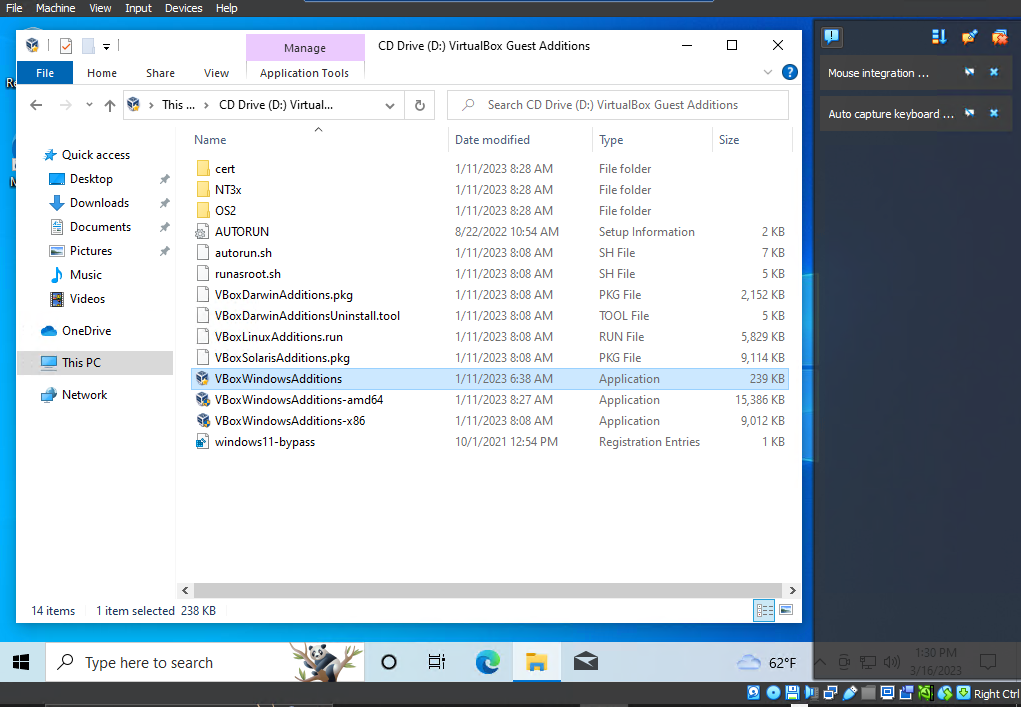
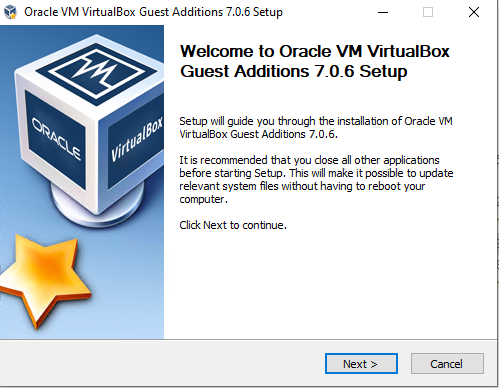
Double click on the drive and run "VBoxWindowsAdditions"
-
Click "Next"
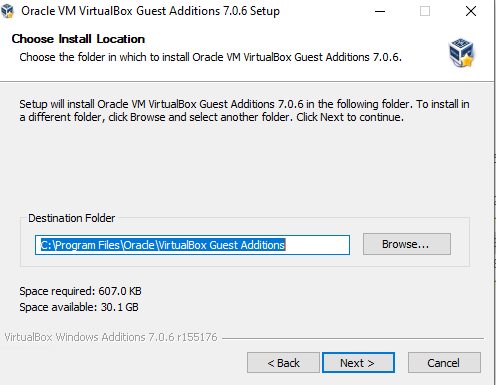
-
Click "Next"
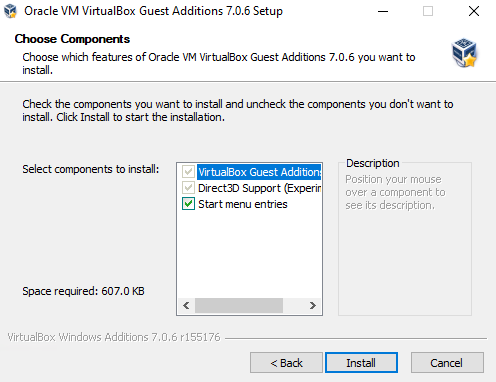
-
Click "Install"
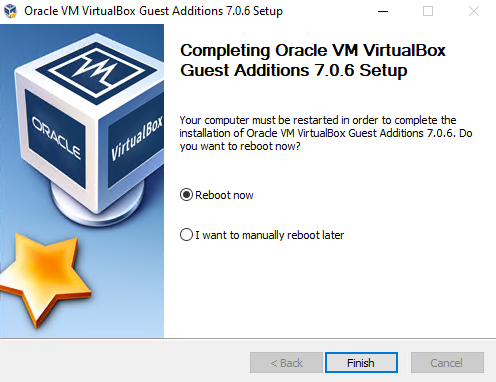
-
"Reboot"
Enabling Guest Addition Features:
-
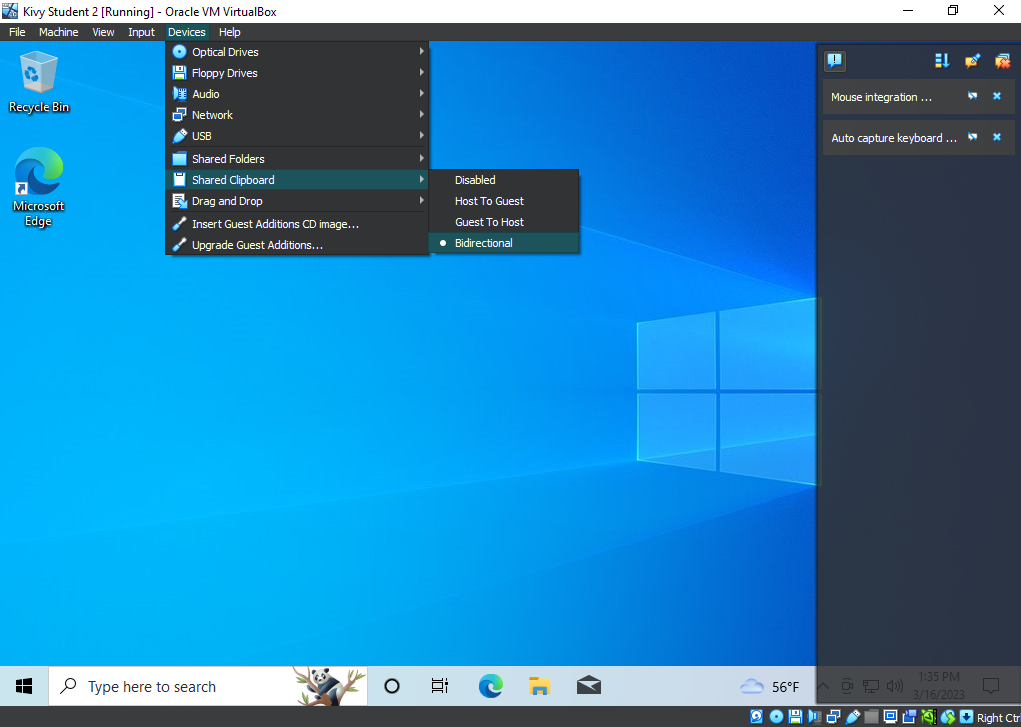
After the reboot, you can enable bidirectional clipboard. (Devices>Shared Clipboard> Bidirectional)
-
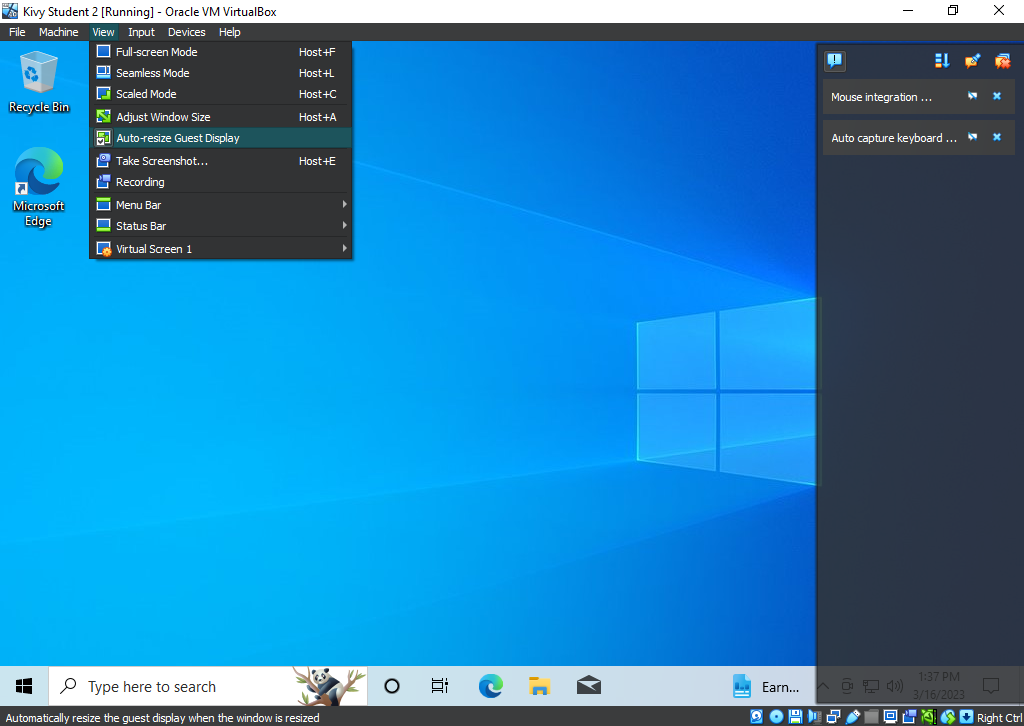
You can also pick "Auto-resize Guest Display". Note that you can also change the display settings through your Windows VM itself and VirtualBox will respect that change as best as possible.
Step 5: Make sure 3D Acceleration is on
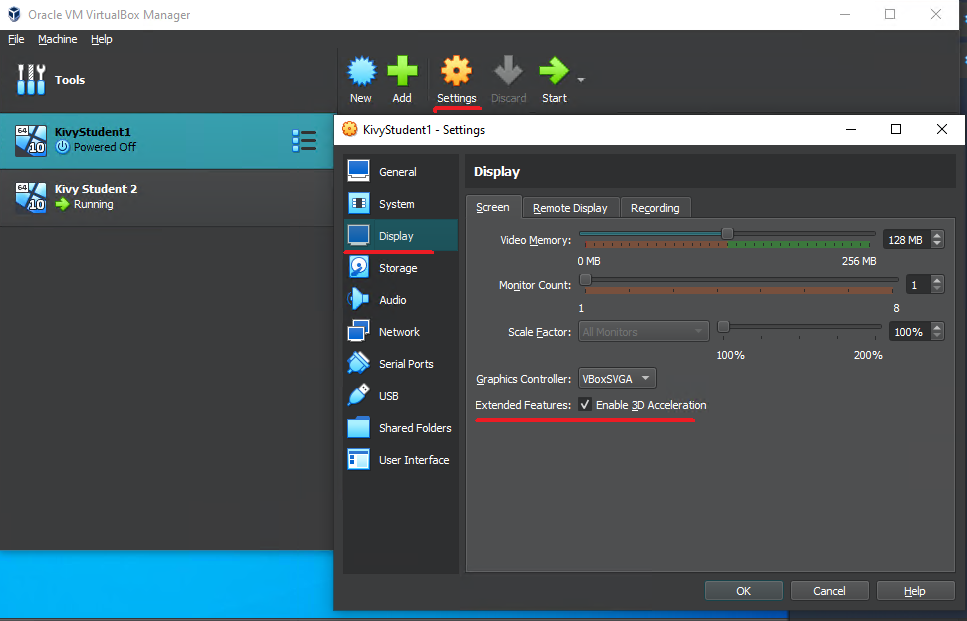
Step 5: Make sure 3D Acceleration is on
-
You can enable 3D Acceleration by going to Settings>Display>"Enable 3D acceleration". This is required when running PyInstaller apps on your VM.
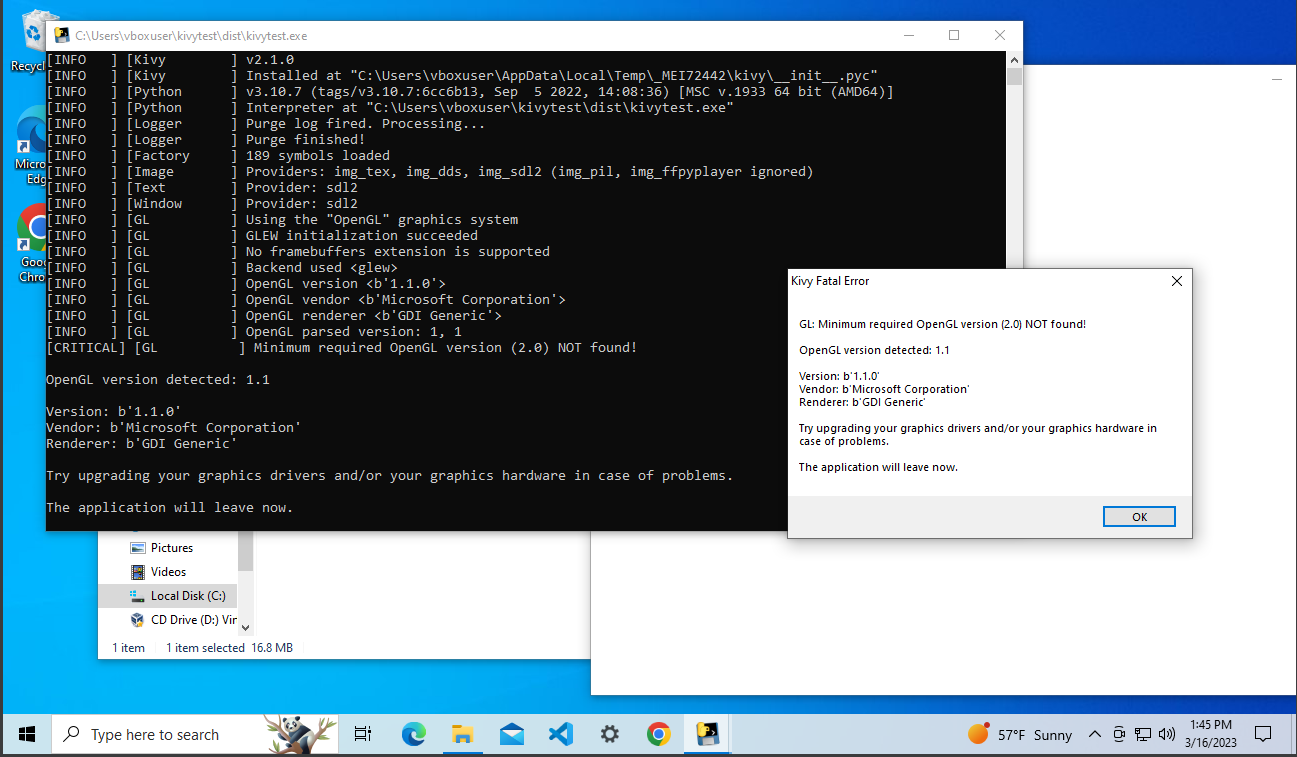
Why you should turn on 3D Acceleration
Your Kivy app might run from console, but the executable is a different story. You will get: "GL: Minimum required OpenGL Version (2.0) NOT found!"
Step 6: Make sure Kivy works in the Windows 10 Guest VM:
After this point, most steps will be taken from PyInstaller Instructions.
Requirements for this section
It is assumed that you have Pyenv, Poetry, and Git installed. If not, see the installation page for your OS.
Step 6: Make sure Kivy works in the Windows 10 Guest VM:
-
Clone the basic repo:
git clone https://github.com/ShootingStarDragon/Kivy-3.9.5 -
Set Python version with Pyenv and Poetry env use:
pyenv install 3.9.5pyenv shell 3.9.5pyenv which python -
From the last step, copy the location and insert into this command:
poetry env use "location of python 3.9.5" -
Install dependencies with Poetry (
poetry installorpoetry update):poetry install -
Run the app from within the Poetry virtual environment:
-
Enter the virtual env:
poetry shell - Run the app:
python main.py
Step 7: Packaging with PyInstaller:
Step 7: Packaging with PyInstaller:
This step is why you need to run the Guest VM with 3D acceleration. Without 3D acceleration, you will get:
Now that your Kivy app works in the VM, you can follow the packaging instructions starting from Step 2 in PyInstaller Instructions.